The 1999 Tracker Obd2 Port Location is typically found under the driver’s side dashboard, making it easily accessible for diagnostics. At MERCEDES-DIAGNOSTIC-TOOL.EDU.VN, we empower you to master your vehicle’s health. Using cutting-edge diagnostic tools and expert guidance, you’ll accurately pinpoint issues and unlock hidden features. Improve your vehicle knowledge with our help, including understanding OBD2 port location, diagnostic procedures, and proactive maintenance to stay ahead of potential problems.
Contents
- 1. Understanding the OBD2 Port in Your 1999 Tracker
- 1.1 What is OBD2?
- 1.2 Why is the OBD2 Port Important?
- 1.3 History of OBD2
- 2. Locating the OBD2 Port in a 1999 Tracker
- 2.1 Typical Location
- 2.2 Step-by-Step Guide to Finding the Port
- 2.3 Common Challenges and Solutions
- 3. Using an OBD2 Scanner with Your 1999 Tracker
- 3.1 Types of OBD2 Scanners
- 3.2 Connecting the Scanner
- 3.3 Reading Diagnostic Trouble Codes (DTCs)
- 3.4 Interpreting the Codes
- 3.5 Clearing Codes
- 3.6 Common Mistakes to Avoid
- 4. Common Issues Diagnosed via OBD2 in a 1999 Tracker
- 4.1 Engine Misfires
- 4.2 O2 Sensor Failures
- 4.3 Catalytic Converter Issues
- 4.4 Evaporative Emission Control System (EVAP) Leaks
- 4.5 Mass Air Flow (MAF) Sensor Problems
- 4.6 Transmission Issues
- 5. Benefits of Knowing Your 1999 Tracker’s OBD2 Port Location
- 5.1 Cost Savings
- 5.2 Faster Diagnostics
- 5.3 Proactive Maintenance
- 5.4 Improved Vehicle Understanding
- 5.5 Emissions Compliance
- 6. Advanced OBD2 Diagnostics for the 1999 Tracker
- 6.1 Live Data Streaming
- 6.2 Bi-Directional Control
- 6.3 Freeze Frame Data
- 6.4 Advanced Coding and Programming
- 6.5 Accessing Manufacturer-Specific Codes
- 7. OBD2 and Vehicle Modifications
- 7.1 Monitoring Performance Modifications
- 7.2 Ensuring Emissions Compliance After Modifications
- 7.3 Detecting Potential Issues Early
- 8. Maintaining Your 1999 Tracker’s OBD2 Port
- 8.1 Protecting the Port from Damage
- 8.2 Cleaning the Port
- 8.3 Checking for Loose Connections
- 8.4 Preventing Corrosion
- 9. Safety Precautions When Using OBD2 Scanners
- 9.1 Avoid Distracted Driving
- 9.2 Follow Manufacturer’s Instructions
- 9.3 Use Proper Grounding
- 9.4 Disconnect the Scanner When Not in Use
- 10. The Future of OBD and Vehicle Diagnostics
- 10.1 OBD-III and Beyond
- 10.2 Integration with Smartphone Apps
- 10.3 Artificial Intelligence (AI) in Vehicle Diagnostics
- 10.4 Over-the-Air (OTA) Updates
- 10.5 Enhanced Cybersecurity Measures
- 11. Troubleshooting Common OBD2 Scanner Issues
- 11.1 Scanner Won’t Connect
- 11.2 Scanner Displays Error Messages
- 11.3 Inaccurate Readings
- 11.4 Scanner Freezes or Crashes
- 12. Alternatives to Using an OBD2 Scanner
- 12.1 Professional Mechanic
- 12.2 Dealership Service Center
- 12.3 Auto Parts Store Diagnostics
- 12.4 Online Diagnostic Services
- 12.5 Repair Manuals and Online Forums
- 13. Tips for Choosing the Right OBD2 Scanner
- 13.1 Determine Your Needs
- 13.2 Check Compatibility
- 13.3 Read Reviews
- 13.4 Compare Features
- 13.5 Consider Brand Reputation
- 13.6 Set a Budget
- 14. Resources for Learning More About OBD2 and Vehicle Diagnostics
- 14.1 Online Forums
- 14.2 Repair Manuals
- 14.3 Online Courses
- 14.4 YouTube Channels
- 14.5 Automotive Blogs
- 15. Frequently Asked Questions (FAQs) About the 1999 Tracker OBD2 Port
- 15.1 What does the OBD2 port do?
- 15.2 Where is the OBD2 port located on a 1999 Tracker?
- 15.3 Can I use any OBD2 scanner on my 1999 Tracker?
- 15.4 How do I read diagnostic trouble codes?
- 15.5 What do the diagnostic trouble codes mean?
- 15.6 Can I clear the diagnostic trouble codes myself?
- 15.7 What are some common issues diagnosed via OBD2?
- 15.8 How can I maintain my OBD2 port?
- 15.9 Is it safe to use an OBD2 scanner while driving?
- 15.10 Where can I learn more about OBD2 and vehicle diagnostics?
1. Understanding the OBD2 Port in Your 1999 Tracker
The On-Board Diagnostics II (OBD2) port is a standardized interface used in most vehicles manufactured after 1996, including the 1999 Tracker. This port allows technicians and vehicle owners to access the car’s computer and retrieve diagnostic information.
1.1 What is OBD2?
OBD2, or On-Board Diagnostics Second Generation, is a standardized system that allows you to access a wealth of information about your vehicle’s health. Introduced in the mid-1990s, it became mandatory for all cars sold in the United States in 1996. OBD2 provides real-time data, diagnostic trouble codes (DTCs), and emissions-related information.
1.2 Why is the OBD2 Port Important?
The OBD2 port is crucial for several reasons:
- Diagnostics: It enables mechanics and car owners to diagnose problems quickly by reading trouble codes.
- Maintenance: It provides valuable data for proactive maintenance, helping to prevent potential issues.
- Emissions: It monitors emissions-related systems, ensuring your vehicle complies with environmental regulations.
- Performance: It can provide data to improve your vehicle’s performance, such as fuel efficiency and engine tuning.
1.3 History of OBD2
The journey to OBD2 began with OBD-I, an earlier diagnostic system that lacked standardization. OBD-I systems varied widely among manufacturers, making it difficult for mechanics to diagnose issues across different vehicles. Recognizing the need for a unified system, the California Air Resources Board (CARB) introduced OBD-II in the early 1990s. By 1996, it was mandated for all new cars sold in the United States. This standardization streamlined diagnostics and made it easier to maintain vehicles across different brands.
2. Locating the OBD2 Port in a 1999 Tracker
Finding the OBD2 port in your 1999 Tracker is generally straightforward. Here’s how to locate it:
2.1 Typical Location
The OBD2 port is most commonly found under the driver’s side dashboard. It is usually near the steering column and easily accessible without tools.
2.2 Step-by-Step Guide to Finding the Port
- Get into the Driver’s Seat: Sit in the driver’s seat of your 1999 Tracker.
- Check Under the Dashboard: Look under the dashboard, specifically in the area below the steering wheel.
- Feel Around: If you can’t see it immediately, use your hand to feel around the area. The port is usually a 16-pin connector, which should be easy to identify by touch.
- Use a Flashlight: If you’re having trouble locating it, use a flashlight to illuminate the area. The OBD2 port should be visible once illuminated.
- Consult Your Owner’s Manual: If you still can’t find it, consult your vehicle’s owner’s manual. The manual should provide a diagram or description of the port’s location.
2.3 Common Challenges and Solutions
Sometimes, the OBD2 port can be slightly hidden or obstructed. Here are a few challenges you might encounter and how to solve them:
- Obstruction by Panels: The port might be behind a small plastic panel. Check if the panel can be easily removed or if the port is accessible without removing it.
- Low Light Conditions: Use a flashlight or your phone’s light to improve visibility.
- Unusual Placement: In rare cases, the port may be in a slightly different location. If you’ve checked the typical spot and still can’t find it, consult your owner’s manual or a repair guide specific to your vehicle model.
3. Using an OBD2 Scanner with Your 1999 Tracker
Once you’ve located the OBD2 port, you can use an OBD2 scanner to retrieve diagnostic information. Here’s how to use it effectively:
3.1 Types of OBD2 Scanners
There are several types of OBD2 scanners available, each with its own set of features and capabilities:
- Basic Code Readers: These scanners can read and clear diagnostic trouble codes (DTCs). They are the most affordable option and suitable for basic diagnostics.
- Enhanced Scanners: In addition to reading and clearing codes, enhanced scanners can display live data, perform component tests, and provide access to advanced diagnostic functions.
- Professional Scanners: These are high-end scanners used by mechanics and technicians. They offer comprehensive diagnostic capabilities, including advanced coding, programming, and bi-directional control.
- Smartphone Adapters: These adapters plug into the OBD2 port and transmit data to your smartphone via Bluetooth or Wi-Fi. You can then use a compatible app to read codes, view live data, and perform other diagnostic functions.
3.2 Connecting the Scanner
- Turn Off the Ignition: Before connecting the scanner, turn off your vehicle’s ignition to prevent any electrical interference.
- Locate the OBD2 Port: Find the OBD2 port under the dashboard on the driver’s side.
- Plug in the Scanner: Align the scanner’s connector with the OBD2 port and firmly plug it in. You should hear or feel a click to ensure it’s securely connected.
- Turn On the Ignition: Turn the ignition to the “ON” position without starting the engine. This provides power to the scanner and the vehicle’s computer.
3.3 Reading Diagnostic Trouble Codes (DTCs)
- Power On the Scanner: Turn on the OBD2 scanner. It should automatically connect to the vehicle’s computer.
- Navigate the Menu: Use the scanner’s menu to select the “Read Codes” or “Diagnostic Codes” option. The exact wording may vary depending on the scanner model.
- View the Codes: The scanner will display any stored diagnostic trouble codes (DTCs). These codes provide information about specific issues the vehicle has detected.
- Record the Codes: Write down the codes or take a photo of the scanner’s screen. You’ll need these codes to research the problems and find solutions.
3.4 Interpreting the Codes
Diagnostic trouble codes (DTCs) are standardized across all OBD2-compliant vehicles. Each code consists of five characters: a letter followed by four numbers. Here’s what each character represents:
- First Character:
- P: Powertrain (engine, transmission)
- B: Body (interior, exterior)
- C: Chassis (brakes, suspension)
- U: Network (communication)
- Second Character:
- 0: Standardized code (SAE)
- 1: Manufacturer-specific code
- Third Character: Indicates the system:
- 1: Fuel and air metering
- 2: Fuel and air metering (injector circuit)
- 3: Ignition system
- 4: Auxiliary emission controls
- 5: Vehicle speed control and idle control system
- 6: Computer output system
- 7: Transmission
- 8: Transmission
- Fourth and Fifth Characters: Specific fault number
For example, the code P0300 indicates a random or multiple cylinder misfire in the engine.
3.5 Clearing Codes
After addressing the issues indicated by the DTCs, you can clear the codes using the OBD2 scanner:
- Navigate to the Clear Codes Menu: Use the scanner’s menu to find the “Clear Codes” or “Erase Codes” option.
- Confirm the Action: The scanner may ask you to confirm that you want to clear the codes. Follow the on-screen prompts to confirm.
- Verify the Codes Are Cleared: After clearing the codes, turn off the ignition for a few minutes, then turn it back on and read the codes again to ensure they have been cleared.
3.6 Common Mistakes to Avoid
- Clearing Codes Without Fixing the Problem: Always address the underlying issue before clearing the codes. Clearing codes without fixing the problem will only result in the codes reappearing.
- Using Incompatible Scanners: Ensure the OBD2 scanner is compatible with your vehicle. Check the scanner’s specifications and compatibility list before purchasing or using it.
- Ignoring Live Data: Don’t rely solely on DTCs. Use the scanner to view live data, such as engine temperature, O2 sensor readings, and fuel trim values, to get a more comprehensive understanding of your vehicle’s performance.
- Forcing the Connection: If the scanner doesn’t easily plug into the OBD2 port, don’t force it. Check for any obstructions or damage to the port and ensure the connector is properly aligned.
4. Common Issues Diagnosed via OBD2 in a 1999 Tracker
The OBD2 system can help diagnose a wide range of issues in your 1999 Tracker. Here are some of the most common problems you might encounter:
4.1 Engine Misfires
Engine misfires are among the most common issues detected by the OBD2 system. A misfire occurs when one or more cylinders in the engine fail to ignite the air-fuel mixture properly. This can result in rough idling, decreased power, and increased emissions.
- Symptoms: Rough idling, stalling, decreased power, poor fuel economy, check engine light.
- Common Codes: P0300 (Random/Multiple Cylinder Misfire Detected), P0301-P0304 (Cylinder Specific Misfire).
- Possible Causes: Faulty spark plugs, ignition coils, fuel injectors, vacuum leaks, low compression.
4.2 O2 Sensor Failures
Oxygen (O2) sensors monitor the amount of oxygen in the exhaust gases. They provide feedback to the engine control unit (ECU), which adjusts the air-fuel mixture to optimize combustion and reduce emissions.
- Symptoms: Poor fuel economy, increased emissions, rough idling, check engine light.
- Common Codes: P0130-P0167 (O2 Sensor Circuit Malfunction), P0420 (Catalyst System Efficiency Below Threshold).
- Possible Causes: Aging O2 sensors, exhaust leaks, contaminated sensors, wiring issues.
4.3 Catalytic Converter Issues
The catalytic converter reduces harmful pollutants in the exhaust gases. Over time, it can become clogged or damaged, leading to reduced efficiency and increased emissions.
- Symptoms: Reduced engine performance, dark exhaust smoke, overheating, check engine light.
- Common Codes: P0420 (Catalyst System Efficiency Below Threshold).
- Possible Causes: Aging catalytic converter, engine misfires, excessive oil consumption, contaminated fuel.
4.4 Evaporative Emission Control System (EVAP) Leaks
The EVAP system prevents fuel vapors from escaping into the atmosphere. Leaks in this system can result in fuel odors and increased emissions.
- Symptoms: Fuel odor, difficulty starting, poor fuel economy, check engine light.
- Common Codes: P0440-P0457 (EVAP System Leak Detected).
- Possible Causes: Loose or damaged fuel cap, cracked EVAP hoses, faulty purge valve, leaking fuel tank.
4.5 Mass Air Flow (MAF) Sensor Problems
The MAF sensor measures the amount of air entering the engine. The ECU uses this information to calculate the correct amount of fuel to inject. A faulty MAF sensor can cause various engine performance issues.
- Symptoms: Poor fuel economy, stalling, rough idling, decreased power, check engine light.
- Common Codes: P0100-P0103 (MAF Sensor Circuit Malfunction).
- Possible Causes: Dirty or contaminated MAF sensor, wiring issues, vacuum leaks.
4.6 Transmission Issues
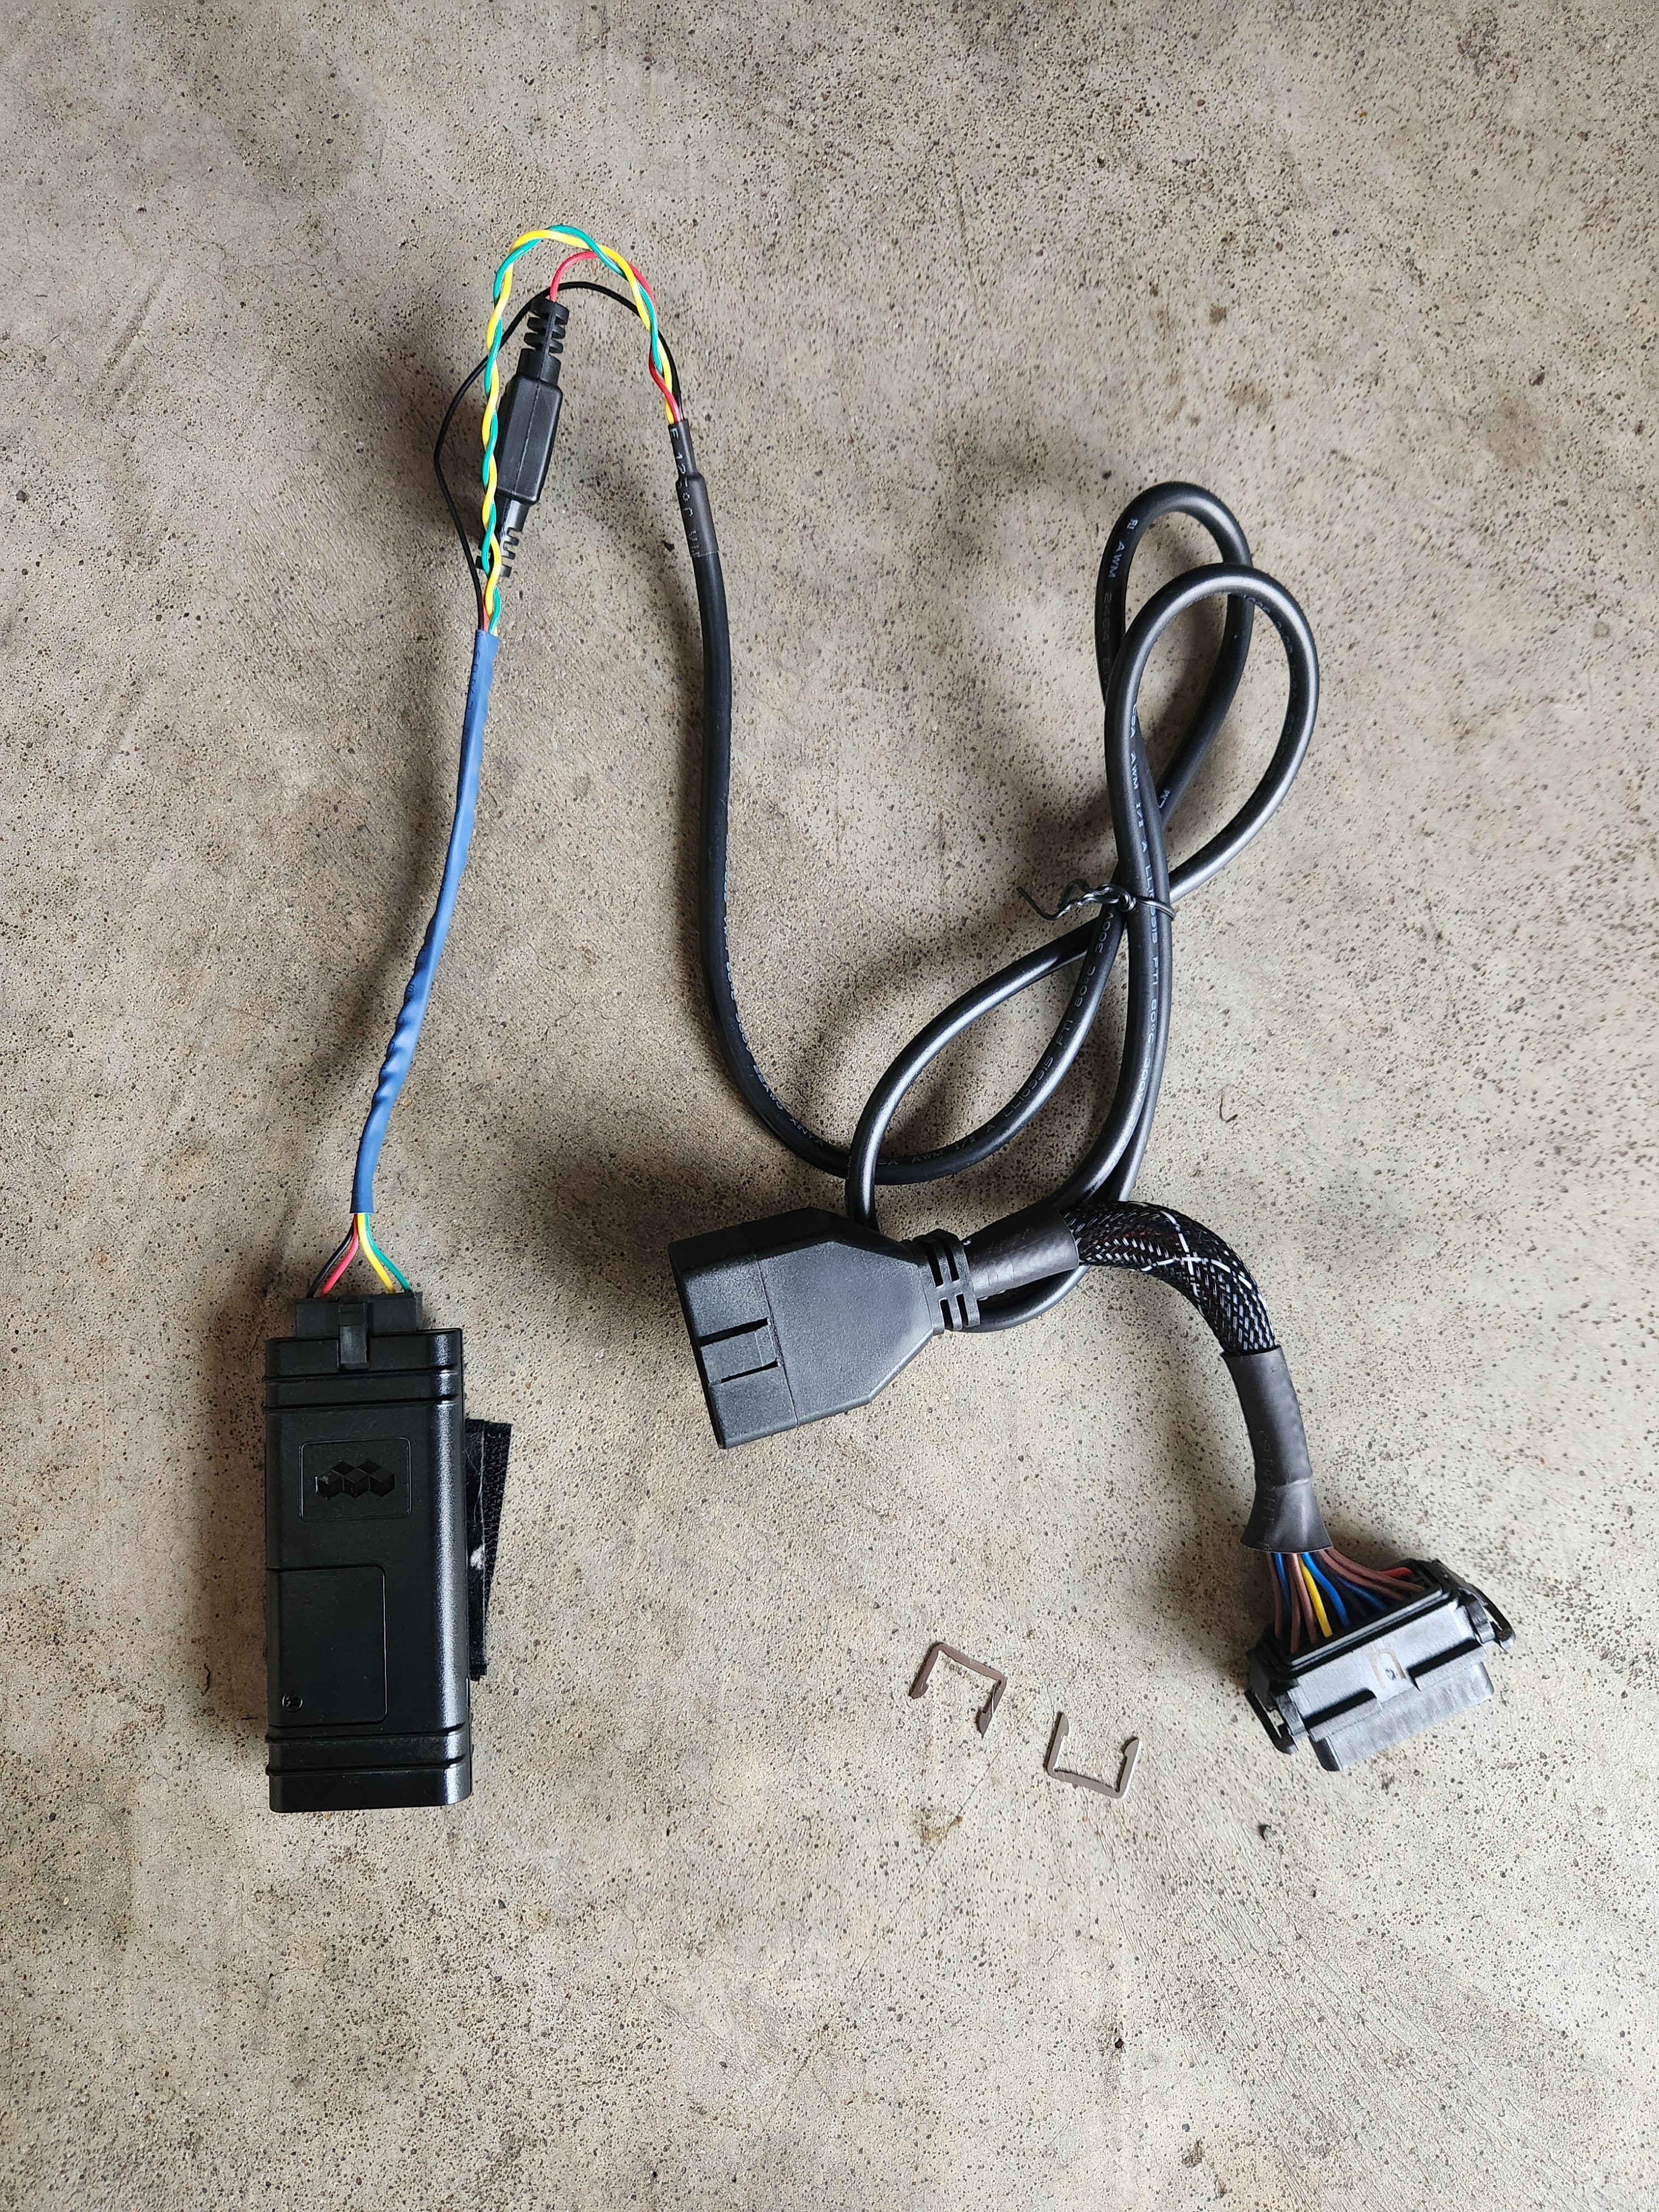 alt: Zaz GPS dealer installed device removed from car, highlighting potential battery drain issues
While less common, the OBD2 system can also detect transmission-related issues. These can range from sensor malfunctions to mechanical problems.
- Symptoms: Slipping gears, rough shifting, delayed engagement, check engine light.
- Common Codes: P0700-P0799 (Transmission Control System Malfunction).
- Possible Causes: Low transmission fluid, faulty transmission sensors, damaged gears or clutches.
5. Benefits of Knowing Your 1999 Tracker’s OBD2 Port Location
Knowing where your OBD2 port is located and how to use it offers several advantages:
5.1 Cost Savings
By diagnosing and addressing issues yourself, you can save money on expensive mechanic fees. Basic code readers are relatively inexpensive, and you can often find repair information online or in repair manuals.
5.2 Faster Diagnostics
Having immediate access to diagnostic information allows you to quickly identify problems and take action. This can prevent minor issues from escalating into major repairs.
5.3 Proactive Maintenance
Regularly scanning your vehicle for diagnostic codes can help you identify potential problems before they cause breakdowns. Proactive maintenance can extend the life of your vehicle and improve its reliability.
5.4 Improved Vehicle Understanding
Using an OBD2 scanner can help you better understand how your vehicle works. By monitoring live data and researching diagnostic codes, you can gain valuable insights into your vehicle’s performance and health.
5.5 Emissions Compliance
The OBD2 system monitors emissions-related components, ensuring your vehicle complies with environmental regulations. By addressing emissions-related issues promptly, you can avoid failing emissions tests and incurring fines.
6. Advanced OBD2 Diagnostics for the 1999 Tracker
For more in-depth diagnostics, consider using advanced OBD2 scanners and software. These tools offer enhanced capabilities that can help you pinpoint complex issues.
6.1 Live Data Streaming
Live data streaming allows you to monitor various parameters in real-time, such as engine temperature, O2 sensor readings, fuel trim values, and more. This can help you identify intermittent problems and diagnose performance issues.
6.2 Bi-Directional Control
Bi-directional control allows you to send commands to the vehicle’s computer to activate or deactivate specific components. This can be useful for testing actuators, solenoids, and other devices.
6.3 Freeze Frame Data
Freeze frame data captures a snapshot of the vehicle’s operating conditions when a diagnostic trouble code is triggered. This can provide valuable clues about the cause of the problem.
6.4 Advanced Coding and Programming
Some advanced OBD2 scanners offer coding and programming capabilities. This allows you to reprogram the vehicle’s computer, customize settings, and perform other advanced functions.
6.5 Accessing Manufacturer-Specific Codes
In addition to standardized OBD2 codes, manufacturers often have their own proprietary codes. Advanced scanners can access these manufacturer-specific codes, providing more detailed diagnostic information.
7. OBD2 and Vehicle Modifications
The OBD2 system can also be useful for monitoring the effects of vehicle modifications. Whether you’re installing a performance exhaust system, upgrading your engine, or tuning the ECU, an OBD2 scanner can help you track the changes and ensure everything is running smoothly.
7.1 Monitoring Performance Modifications
When you install performance modifications, it’s important to monitor parameters such as air-fuel ratio, boost pressure, and exhaust gas temperature. An OBD2 scanner can provide this data, allowing you to fine-tune your modifications for optimal performance and reliability.
7.2 Ensuring Emissions Compliance After Modifications
Modifications can sometimes affect emissions. Use an OBD2 scanner to monitor emissions-related parameters and ensure your vehicle still complies with environmental regulations.
7.3 Detecting Potential Issues Early
Modifications can sometimes cause unexpected problems. Regularly scanning your vehicle for diagnostic codes can help you detect potential issues early, before they cause serious damage.
8. Maintaining Your 1999 Tracker’s OBD2 Port
Proper maintenance of the OBD2 port ensures reliable communication with diagnostic tools.
8.1 Protecting the Port from Damage
The OBD2 port is a delicate connector that can be easily damaged. Protect it from physical damage by avoiding impacts and keeping it clean and dry.
8.2 Cleaning the Port
Over time, the OBD2 port can accumulate dirt and debris. Clean it periodically with a soft brush or compressed air to ensure a good connection.
8.3 Checking for Loose Connections
Regularly check the OBD2 port for loose connections. If the connector feels loose, gently tighten it to ensure a secure connection.
8.4 Preventing Corrosion
Corrosion can damage the OBD2 port and prevent it from functioning properly. Apply a dielectric grease to the connector to prevent corrosion.
9. Safety Precautions When Using OBD2 Scanners
When using OBD2 scanners, it’s important to follow safety precautions to avoid injury or damage to your vehicle.
9.1 Avoid Distracted Driving
Never use an OBD2 scanner while driving. Pull over to a safe location before using the scanner to read codes or monitor data.
9.2 Follow Manufacturer’s Instructions
Always follow the manufacturer’s instructions when using an OBD2 scanner. Incorrectly using the scanner can damage the vehicle’s computer or other components.
9.3 Use Proper Grounding
Ensure the OBD2 scanner is properly grounded to avoid electrical shocks.
9.4 Disconnect the Scanner When Not in Use
When you’re finished using the OBD2 scanner, disconnect it from the OBD2 port to prevent battery drain or electrical interference.
10. The Future of OBD and Vehicle Diagnostics
The future of OBD and vehicle diagnostics is evolving rapidly, with new technologies and capabilities emerging all the time.
10.1 OBD-III and Beyond
OBD-III and future generations of OBD systems are expected to offer even more advanced diagnostic capabilities. These systems may include wireless communication, remote diagnostics, and predictive maintenance features.
10.2 Integration with Smartphone Apps
Smartphone apps are becoming increasingly integrated with OBD systems. These apps can provide real-time data, diagnostic information, and even remote control of vehicle functions.
10.3 Artificial Intelligence (AI) in Vehicle Diagnostics
AI is being used to analyze diagnostic data and predict potential problems. AI-powered diagnostic systems can identify patterns and anomalies that might be missed by human technicians.
10.4 Over-the-Air (OTA) Updates
Over-the-air (OTA) updates allow manufacturers to remotely update vehicle software and firmware. This can improve performance, fix bugs, and add new features without requiring a visit to the dealership.
10.5 Enhanced Cybersecurity Measures
As vehicles become more connected, cybersecurity is becoming increasingly important. Future OBD systems will include enhanced security measures to protect against hacking and unauthorized access.
11. Troubleshooting Common OBD2 Scanner Issues
Encountering issues with your OBD2 scanner can be frustrating. Here are some common problems and how to troubleshoot them:
11.1 Scanner Won’t Connect
- Check the Connection: Ensure the scanner is securely plugged into the OBD2 port.
- Verify Power: Make sure the vehicle’s ignition is turned to the “ON” position without starting the engine.
- Check Compatibility: Ensure the scanner is compatible with your vehicle’s make and model.
- Inspect the Port: Check the OBD2 port for damage or corrosion.
- Try Another Scanner: If possible, try using a different OBD2 scanner to rule out a problem with the scanner itself.
11.2 Scanner Displays Error Messages
- Consult the Manual: Refer to the scanner’s manual for troubleshooting steps related to the specific error message.
- Check for Updates: Ensure the scanner’s software is up to date.
- Reset the Scanner: Try resetting the scanner by turning it off and on again.
- Contact Support: If the error persists, contact the scanner manufacturer’s support for assistance.
11.3 Inaccurate Readings
- Verify Sensor Data: Compare the scanner’s readings with other sources, such as a repair manual or online forum.
- Check Sensor Connections: Ensure the vehicle’s sensors are properly connected and functioning.
- Calibrate the Scanner: Some scanners require calibration to ensure accurate readings.
- Use a High-Quality Scanner: Inaccurate readings can sometimes be attributed to a low-quality scanner. Consider upgrading to a more reliable model.
11.4 Scanner Freezes or Crashes
- Update Software: Ensure the scanner’s software is up to date.
- Clear Memory: Clear the scanner’s memory to free up resources.
- Avoid Overloading: Avoid running too many functions simultaneously, which can cause the scanner to freeze or crash.
- Contact Support: If the problem persists, contact the scanner manufacturer’s support for assistance.
12. Alternatives to Using an OBD2 Scanner
While OBD2 scanners are a valuable tool for vehicle diagnostics, there are some alternatives you might consider:
12.1 Professional Mechanic
If you’re not comfortable diagnosing or repairing your vehicle yourself, a professional mechanic can provide expert assistance. They have the training, experience, and tools to accurately diagnose and fix a wide range of issues.
12.2 Dealership Service Center
Dealership service centers specialize in servicing vehicles of a particular make. They have access to manufacturer-specific diagnostic tools and repair information.
12.3 Auto Parts Store Diagnostics
Some auto parts stores offer free diagnostic services. They can read diagnostic trouble codes and provide basic repair recommendations.
12.4 Online Diagnostic Services
Online diagnostic services provide remote diagnostic assistance. You can connect your vehicle to a diagnostic device and have a remote technician analyze the data and provide repair recommendations.
12.5 Repair Manuals and Online Forums
Repair manuals and online forums can provide valuable information about common vehicle problems and repair procedures. These resources can be helpful if you’re trying to diagnose and fix issues yourself.
13. Tips for Choosing the Right OBD2 Scanner
Selecting the right OBD2 scanner can make a significant difference in your diagnostic capabilities. Here are some tips to help you choose the best scanner for your needs:
13.1 Determine Your Needs
Consider what you want to use the scanner for. Do you need a basic code reader, or do you want advanced features like live data streaming and bi-directional control?
13.2 Check Compatibility
Ensure the scanner is compatible with your vehicle’s make, model, and year.
13.3 Read Reviews
Read reviews from other users to get an idea of the scanner’s performance and reliability.
13.4 Compare Features
Compare the features of different scanners to find one that meets your needs and budget.
13.5 Consider Brand Reputation
Choose a scanner from a reputable brand with a track record of quality and customer support.
13.6 Set a Budget
OBD2 scanners range in price from a few dollars to several hundred dollars. Set a budget and stick to it.
14. Resources for Learning More About OBD2 and Vehicle Diagnostics
There are many resources available to help you learn more about OBD2 and vehicle diagnostics:
14.1 Online Forums
Online forums dedicated to vehicle repair and diagnostics can be a valuable source of information. You can ask questions, share experiences, and learn from other enthusiasts and professionals.
14.2 Repair Manuals
Repair manuals provide detailed information about vehicle systems, diagnostic procedures, and repair steps.
14.3 Online Courses
Online courses can provide structured learning about OBD2 and vehicle diagnostics. These courses often include videos, quizzes, and hands-on exercises.
14.4 YouTube Channels
YouTube channels dedicated to vehicle repair and diagnostics can provide visual demonstrations of diagnostic procedures and repair steps.
14.5 Automotive Blogs
Automotive blogs often publish articles about OBD2, vehicle diagnostics, and repair tips.
15. Frequently Asked Questions (FAQs) About the 1999 Tracker OBD2 Port
15.1 What does the OBD2 port do?
The OBD2 port allows you to connect a scanner to your car’s computer to read diagnostic trouble codes, view live data, and monitor vehicle performance.
15.2 Where is the OBD2 port located on a 1999 Tracker?
The OBD2 port is typically located under the driver’s side dashboard, near the steering column.
15.3 Can I use any OBD2 scanner on my 1999 Tracker?
Most OBD2 scanners are compatible with the 1999 Tracker, but it’s always a good idea to check the scanner’s compatibility list before purchasing or using it.
15.4 How do I read diagnostic trouble codes?
Connect the scanner to the OBD2 port, turn on the ignition, and navigate the scanner’s menu to select the “Read Codes” or “Diagnostic Codes” option.
15.5 What do the diagnostic trouble codes mean?
Diagnostic trouble codes provide information about specific issues the vehicle has detected. You can research the codes online or in a repair manual to find out what they mean.
15.6 Can I clear the diagnostic trouble codes myself?
Yes, you can clear the diagnostic trouble codes using an OBD2 scanner. However, it’s important to address the underlying issue before clearing the codes.
15.7 What are some common issues diagnosed via OBD2?
Common issues diagnosed via OBD2 include engine misfires, O2 sensor failures, catalytic converter issues, EVAP system leaks, and MAF sensor problems.
15.8 How can I maintain my OBD2 port?
Protect the port from damage, clean it periodically, check for loose connections, and prevent corrosion.
15.9 Is it safe to use an OBD2 scanner while driving?
No, it’s not safe to use an OBD2 scanner while driving. Pull over to a safe location before using the scanner.
15.10 Where can I learn more about OBD2 and vehicle diagnostics?
You can learn more about OBD2 and vehicle diagnostics from online forums, repair manuals, online courses, YouTube channels, and automotive blogs.
Mastering your 1999 Tracker’s OBD2 port empowers you to proactively maintain your vehicle and address issues efficiently. For deeper insights and expert guidance, reach out to us at MERCEDES-DIAGNOSTIC-TOOL.EDU.VN. Our team is ready to assist you with advanced diagnostics, unlocking hidden features, and providing tailored repair solutions. Contact us today at 789 Oak Avenue, Miami, FL 33101, United States, or call +1 (641) 206-8880. Let MERCEDES-DIAGNOSTIC-TOOL.EDU.VN be your trusted partner in vehicle care.